HOW OUR WORK COMES TO LIFE

Our Mosaic Process
The idea for Peartree Glass Studio started 25 years ago, when Julie decided to pick up a hammer and tile and teach herself how to mosaic. After lots of smashed up tiles and many years later, she passed all she learnt onto her daughter Ellie who has found a great passion in mosaics. Together they create unique, original mosaic works, including mirrors and wall art full of intricate details.
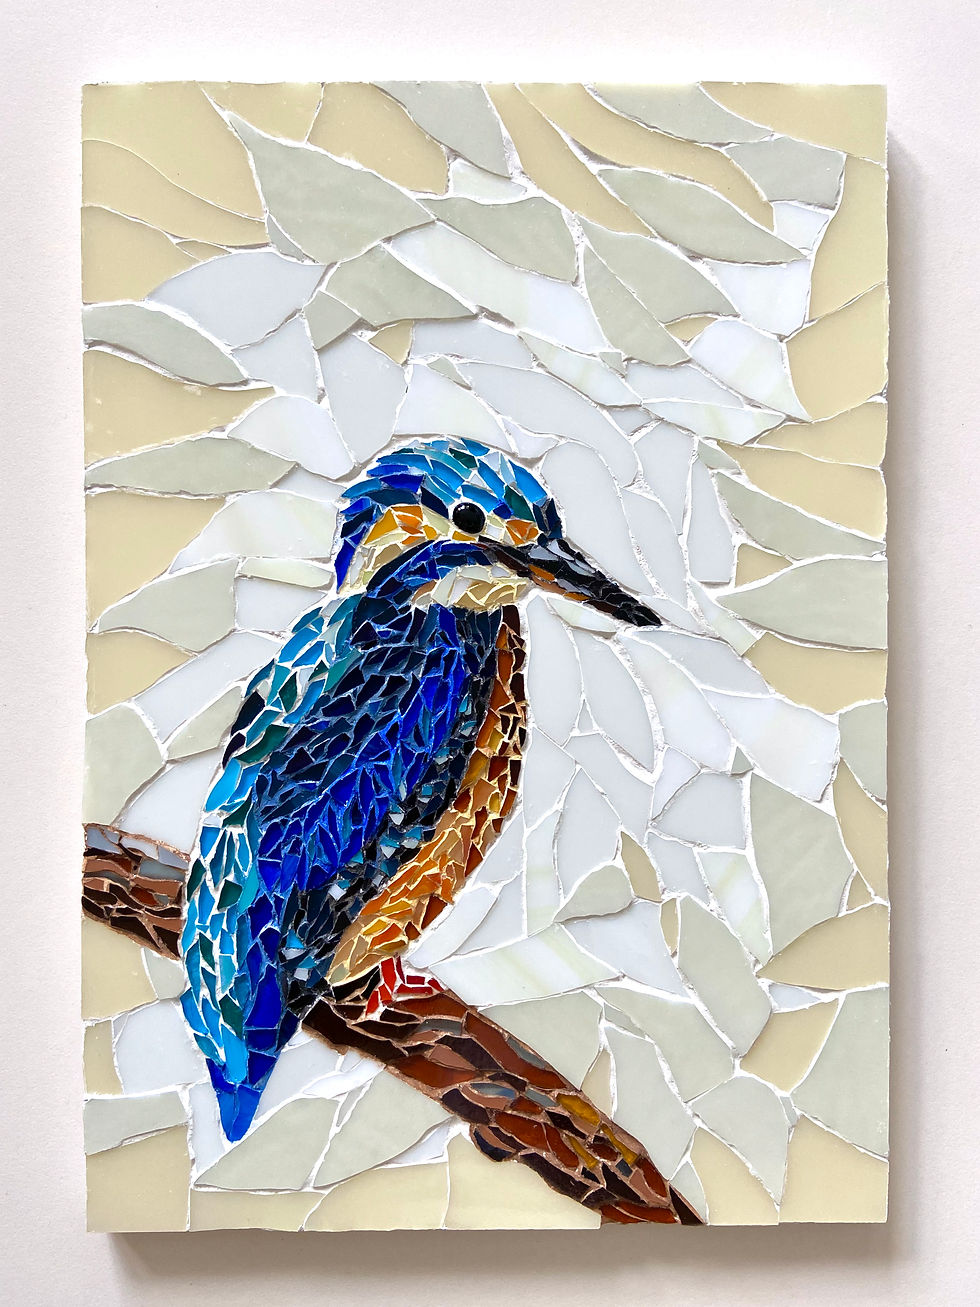
The process begins with the base. We cut each base out of a large sheet of MDF, which are then sealed and painted white. After the base is dry we can begin with the mosaic design. Sometimes we draw our designs directly onto to painted base, or we forge ahead to create a design from our imagination.
Once the design is clear, we chose from all the beautiful pieces of stained glass we have in the studio to bring our ideas to life. Each piece of glass is hand cut, using glass cutters, tile nippers and sometimes even our grinder for more fiddly pieces. We use a strong adhesive as we go to keep everything in place.
When all the hundreds - sometimes thousands! - of glass pieces are cut to size and adhered in place, we can begin the messy process of grouting. We choose our colour of grout adhesive (sometimes even using multiple coloured grouts in one piece) and start spreading the grout into the cracks between the glass. After lots of mess and a few sore fingers, we let the grout set enough that we can polish the excess off. This can sometimes be the longest step as each piece can need individual cleaning with a toothpick! On some of our works, we go an extra step of painting the grout within the piece to match the design and add extra depth.
A final polish later and the mosaic is complete! We paint the backs and attach hooks for hanging and the piece is ready to find its new home...


Our Stained Glass Process
We use the tiffany copper foiling technique for the majority of our stained glass work. This method is a relatively modern technique compared with leaded glass first seen in 675 AD. Copper foiling dates back to around 1880 and is widely attributed to LC Tiffany and his Art Nouveau lampshades.
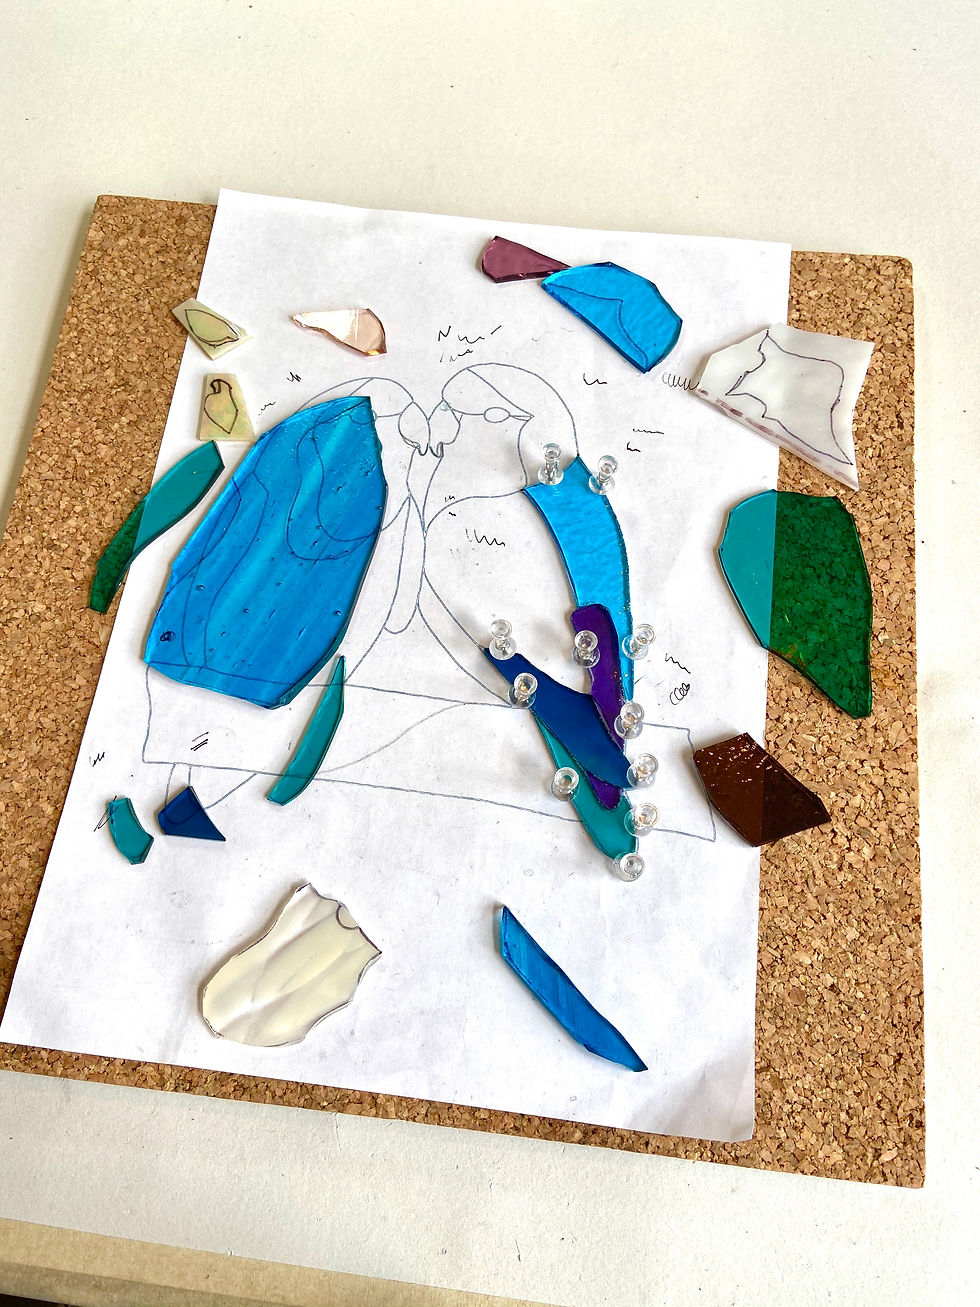
To begin, we first create a design - called a pattern. Sometimes we do this free-hand, or we draw our patterns on our ipad and print them for more precise designs. We then choose our glass from our range of textured, transparent, opal and iridescent glass. These sheets of glass are hand cut using a glass cutter tool to match our pattern. Cutting glass is a very tricky business and usually each piece requires further grinding on our ring saw and grinder in order to fit each piece perfectly to the pattern.
Once each individual piece fits perfectly like a puzzle, we can wash and dry them ready for foiling. The foiling method requires each piece of glass to be carefully wrapped around each edge in copper foil tape. Each edge must also be burnished to ensure the tape has fully adhered.
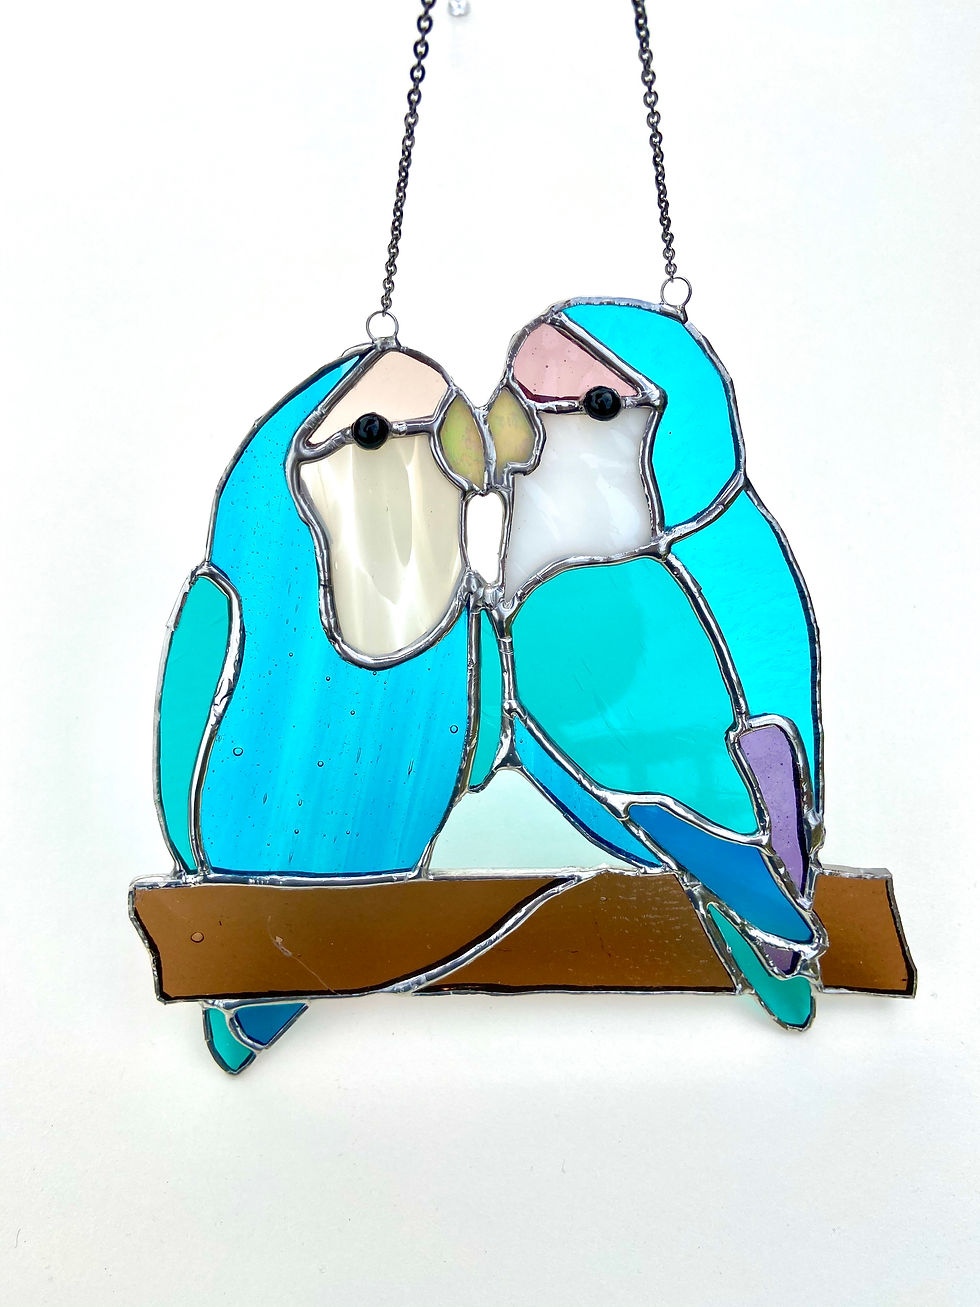
Next we can solder! The pieces from the pattern are laid out on a cork board and pinned in place so they don't move about. We then use a chemical called flux, which is brushed over the foil lines, before soldering over each join and edge. Due to the fumes created when heating solder and the dangerous temperatures, we use full protective gear at all times, including respiratory masks and safety googles. When all the pieces are soldering neatly front and back, we then solder on jump rings with a delicate chain attached to hang.
The flux and excess mess can then be washed off the piece and finally given a last polish with carnauba wax for an extra sparkle.